 |
Optimising an image in Photoshop
|
In this tutorial you will learn how to change the size by using the crop tool and how to optimise an image for the web in Photoshop. When an image is optimise it helps for a faster download when using the image on the web.
Step One:
In Photoshop, open up an image that you have saved by clicking on open and selecting the image you need.
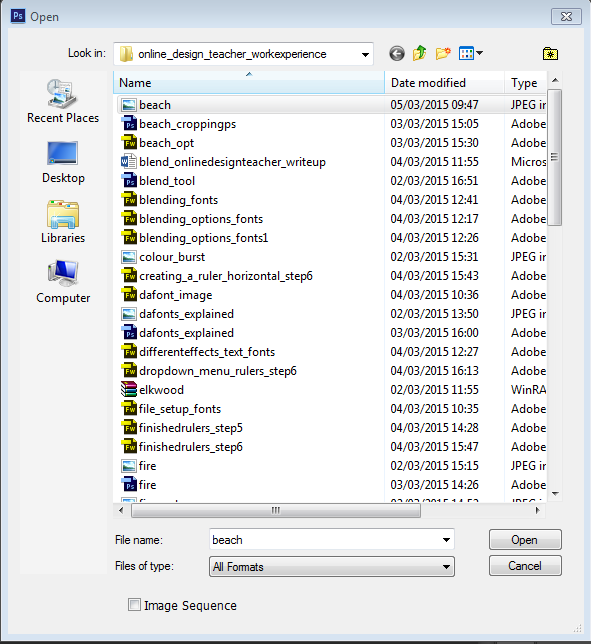 |
| Opening the image to be used in Photoshop |
The image I am using the below image for the demo. I downloaded the image from google images. It is a non-copyright image,that means it’s free to use without having to pay any fees. I searched in the “Search Tools” area in google images and selected “Usage Rights” and selected “Labeled for reuse with modification”.
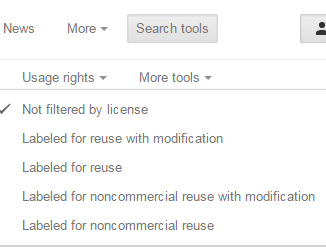 |
| Selecting the usage rights on Google Images |
Image used for the demo
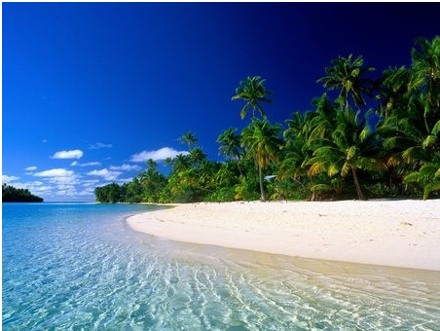 |
Image used for cropping and optimising in Photoshop
|
Step Two:
If you would like to get rid of any unwanted area of the image, you can crop the image. You can use the crop tool as show below to get rid of unwanted areas.
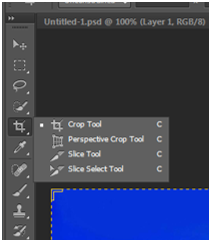 |
| Selecting the Crop Tool in Photoshop |
Appearance of the Crop Tool on Photoshop
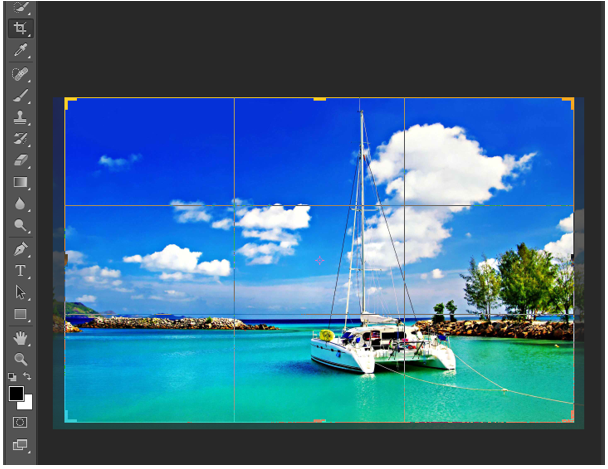 |
| Selection area on the image once the Crop Tool is selected in Photoshop |
Step Three:
To save this image to use for the web. Click on file and the selected “saving for the web”.
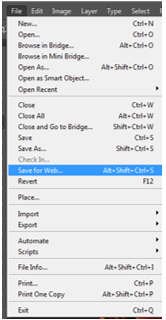 |
| Selecting "Save for Web" in the file area on Photoshop |
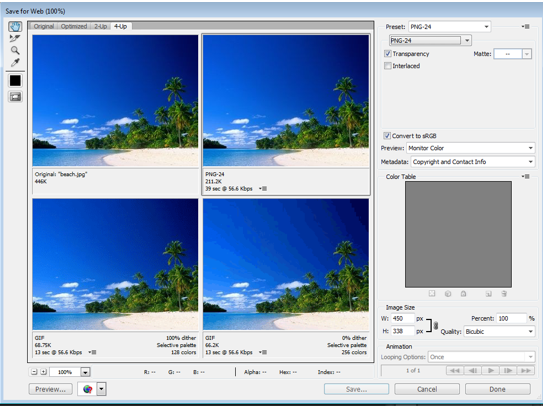
Step Four:
The “Save for web” window will appear. In this window, selected 4-Up, select png-24 for a faster download and for a greater number of colours of the image to be displayed when using it for on the web.
|
Pop up menu to help you to select the correct format for your image to use for the web
|
Then you can save your image as beach_opt.png.
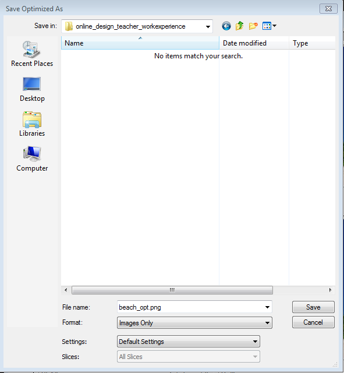 |
| Saving your optimized image |