 |
| Rulers Set up in Photoshop |
In this tutorial you will learn how to set up the use of Rulers in Photoshop. Rulers are use to help you to position images and text in the exact position you require when using Photoshop.Step One:
Select file and new and create a new file. I have chosen the settings off 8.5 inches for the width, 11 inches for the height, with 300 for the resolution and RGB color for the color mode.
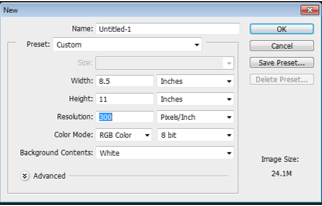 |
Setting up a new file for Photoshop
|
Step Two:
For this demo I am going use some text to show how using rulers can position your text correctly.
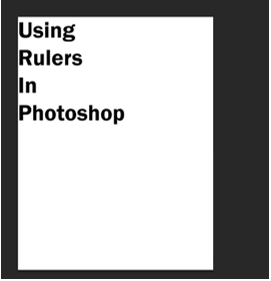 |
| Sample of a new canvas for setting up the ruler example |
Step Three:
To set up the rulers manually, click view and a drop down menu will appear.
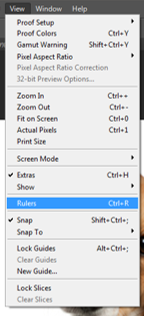 |
| View drop down menu in Photoshop |
Click to turn the rulers on. A guide will then appear with numbers on the top (Horizontal) and on the left hand (Vertical) side of the page. This is your rulers guide.
 |
| Image of Rulers as the appear in Photoshop |
Step Four:
Now with your mouse, hover over the numbers until a white cursor appears. Click and drag down the top line and place onto the template at desire level. Clicking and the pulling down of the rulers (Horizontal).
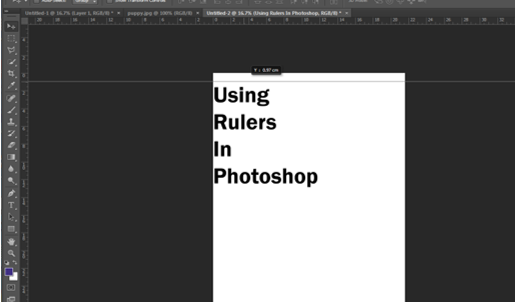 |
| Adding of the Rulers (horizontal) |
Bring the rulers in from the left hand size (Vertical)
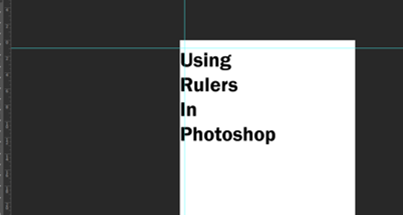 |
| Adding of Rulers (Vertical) |
All the rulers in place.
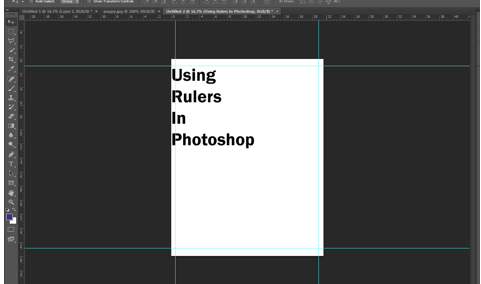 |
| All the Rulers in the correct positions |
Step Five:
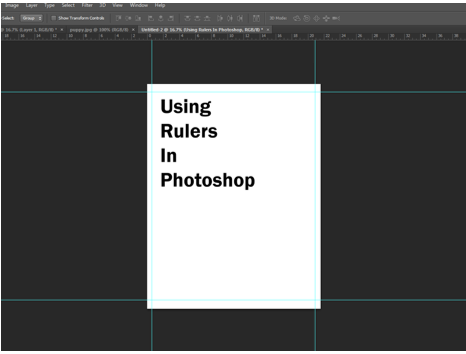
As you can see from the above image the text is on the outside of the rulers on the left hand side. To move the text into the correct place, select the text layer, on the right hand size and with the move tool and move into position.
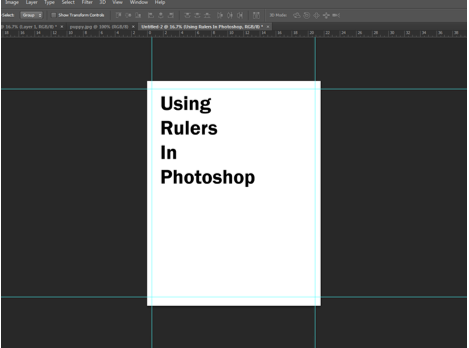 |
| Rulers and Text in the correct position |
Step Six:
You can also set up the rulers to the exact measurement required. To do this, again select view, and the drop down menu will appear, scroll down and select “New Guides”. A pop up menu will appear and you are able to select the correct measurement for the rulers by selecting either horizontal or vertical position.
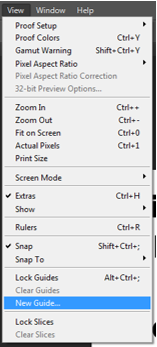 |
| Drop down menu once selected the View option on Photoshop |
Pop up menu to select the correct measurements
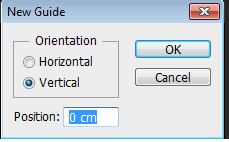 |
| Selecting the measurements in the New Guide |
For this demo I selected the measure for the Horizontal (top) for 3cm, with the Vertical (left side) set also at 3cm. Again for the bottom Horizontal and right side Vertical set the setting to this time 3mm for the rulers to appear. Example show in the images below.
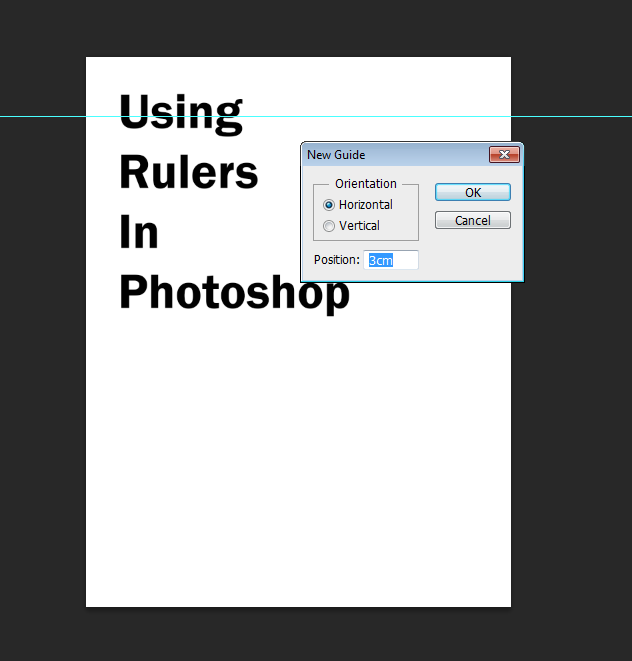 |
Creating the Horizontal Ruler with the correct measurement
|
New guides rulers for Horizontal and Vertical (3cm)
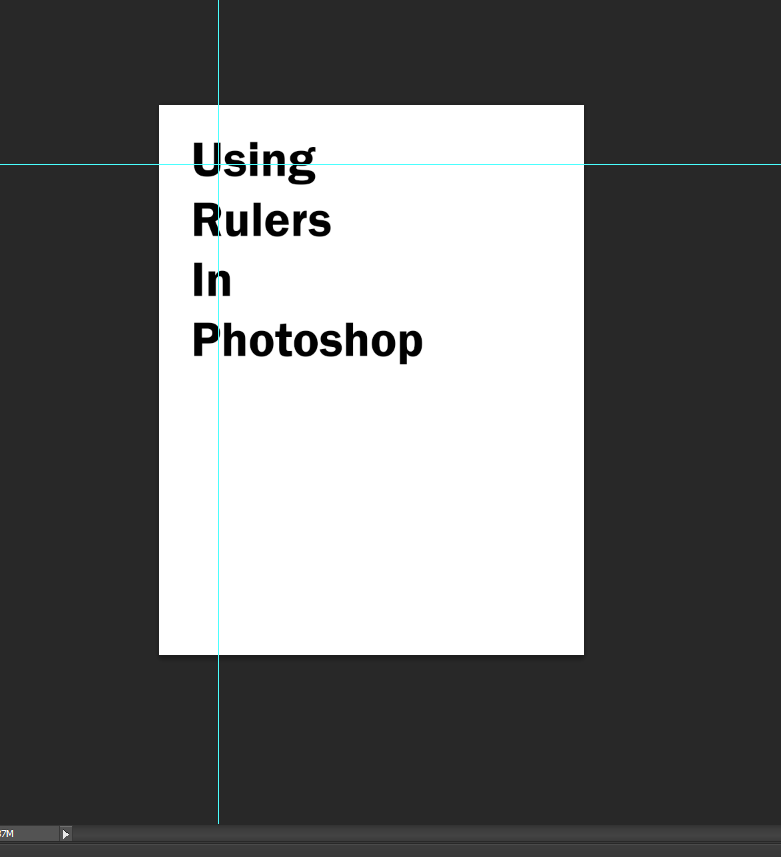 |
| Horizontal and Vertical rulers appearing in Photoshop |
Rulers in place after creating them with the new guide option in the view section of Photoshop. To move the text into the correct place, select the text layer, on the right hand size and with the move tool and move into position.
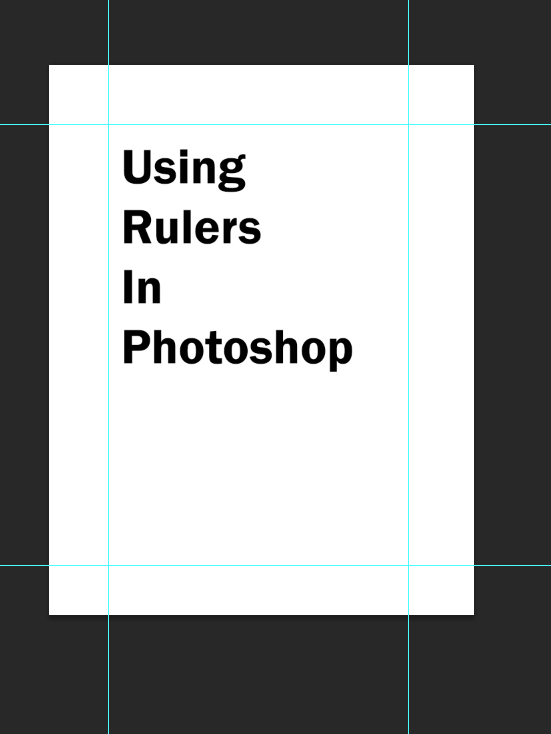 |
| Rulers and Text in the correct position on Photoshop |


